GME Guide
GME (Git MDX Editor) is a tool designed to remove friction between content editing and your Git repository.
💡 Key Concept: We don't use databases. Your content "lives" in your GitHub repo, and GME is simply the visual window to manipulate it.
1. Getting Started
To begin, simply log in with your GitHub account. GME will ask for permissions to access your public or private repositories as you choose.
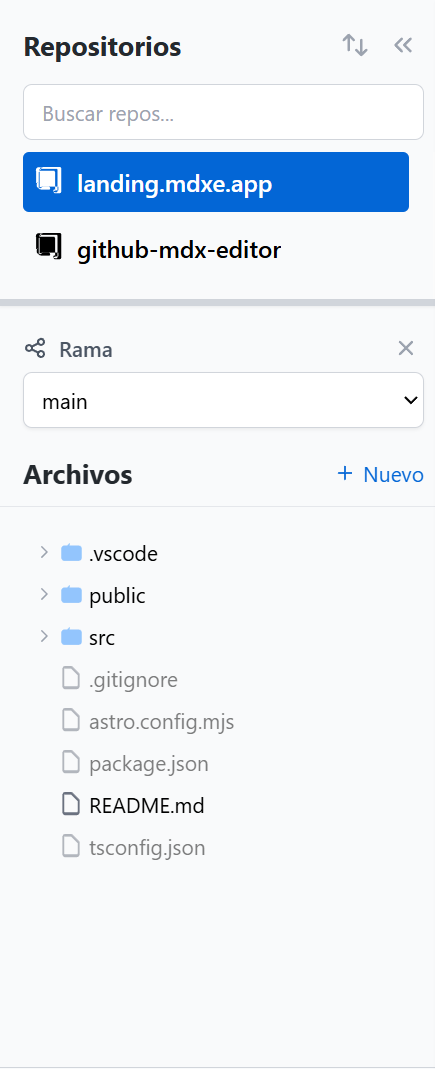
- Repository Selection: Choose the repository where you have your MDX files.
- Branch: Choose the branch you want
to work on (e.g.,
main). - Explorer: Use the file tree to find
the
.mdxfile you want to edit.
2. Visual Editor (WYSIWYG)
GME uses a premium visual engine that lets you see the final result while you write. Forget about previewing in separate tabs.
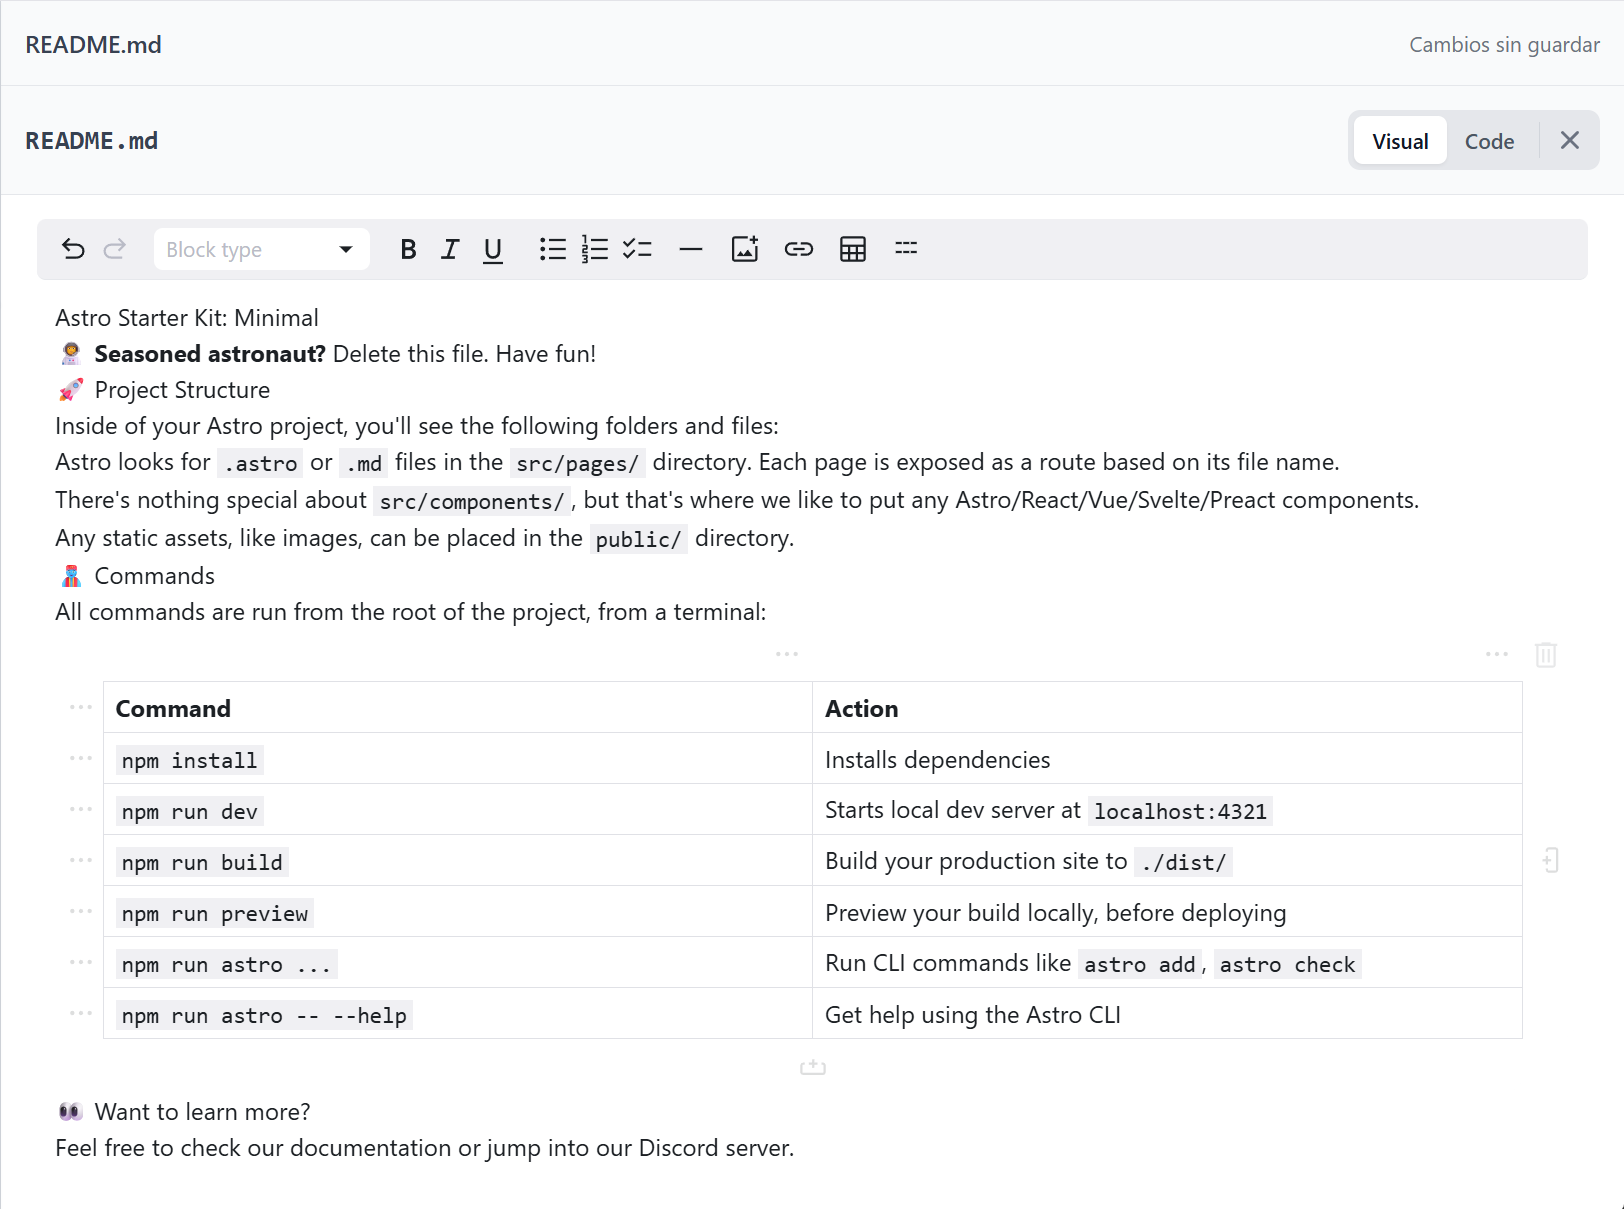
Tables and Media
Creating tables in raw MDX is tedious. In GME, it's as easy as in Excel or Word. Just click the table icon and start filling in.
3. Frontmatter Editor
SEO and metadata are crucial. GME includes a dedicated Frontmatter (YAML) editor at the top.
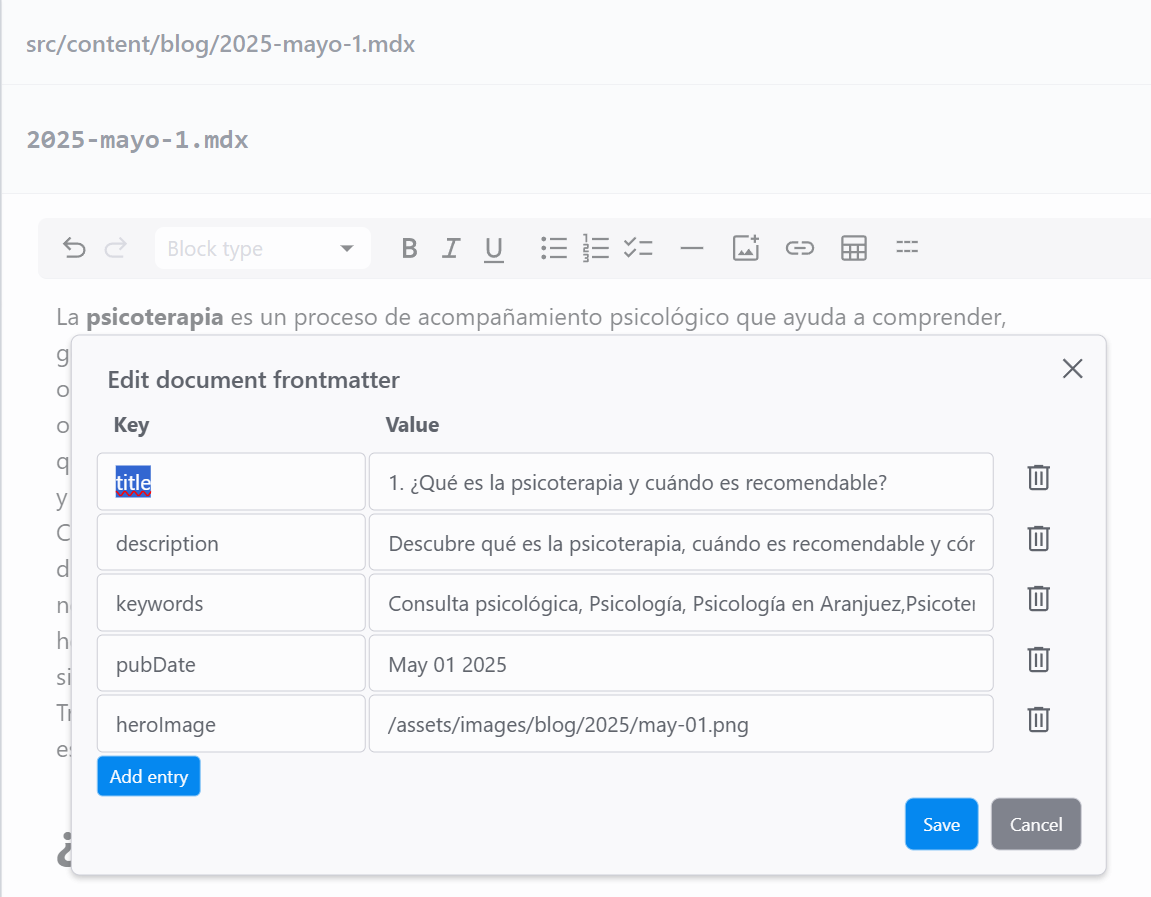
GME automatically detects fields like title,
description, date,
or layout.
4. Publishing (Direct Commits)
When you press "Publish", GME creates a commit directly in the selected repository on your behalf.
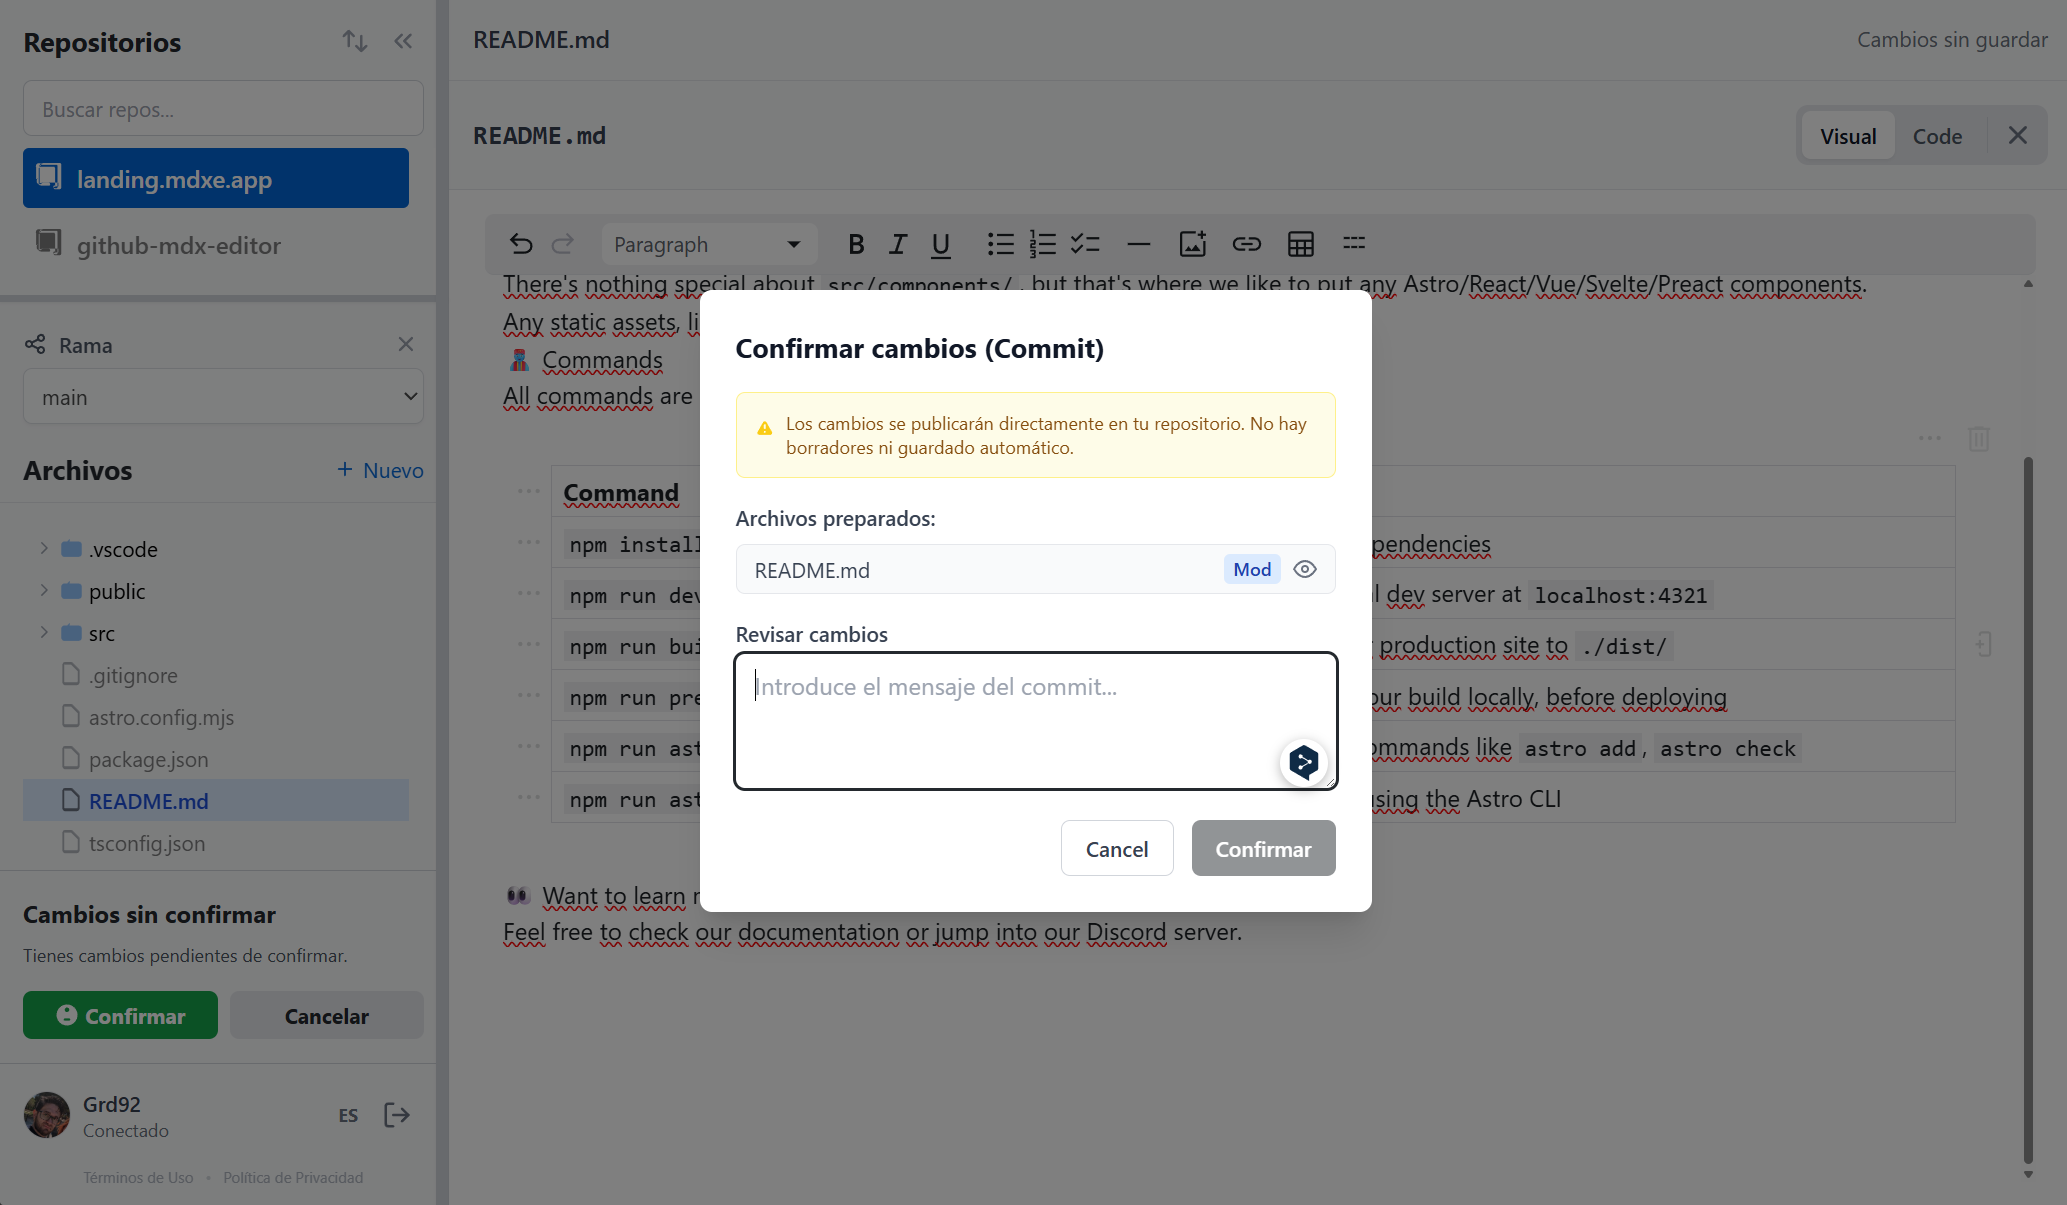
⚠️ Attention: Each commit is a direct publication. If you have a CI/CD system (like Vercel or Netlify), your site will automatically update when the commit finishes.
🚀 Tip: If you are using Astro or Next.js with Vercel or Netlify, the commit will automatically trigger the production deploy. Real change in seconds!